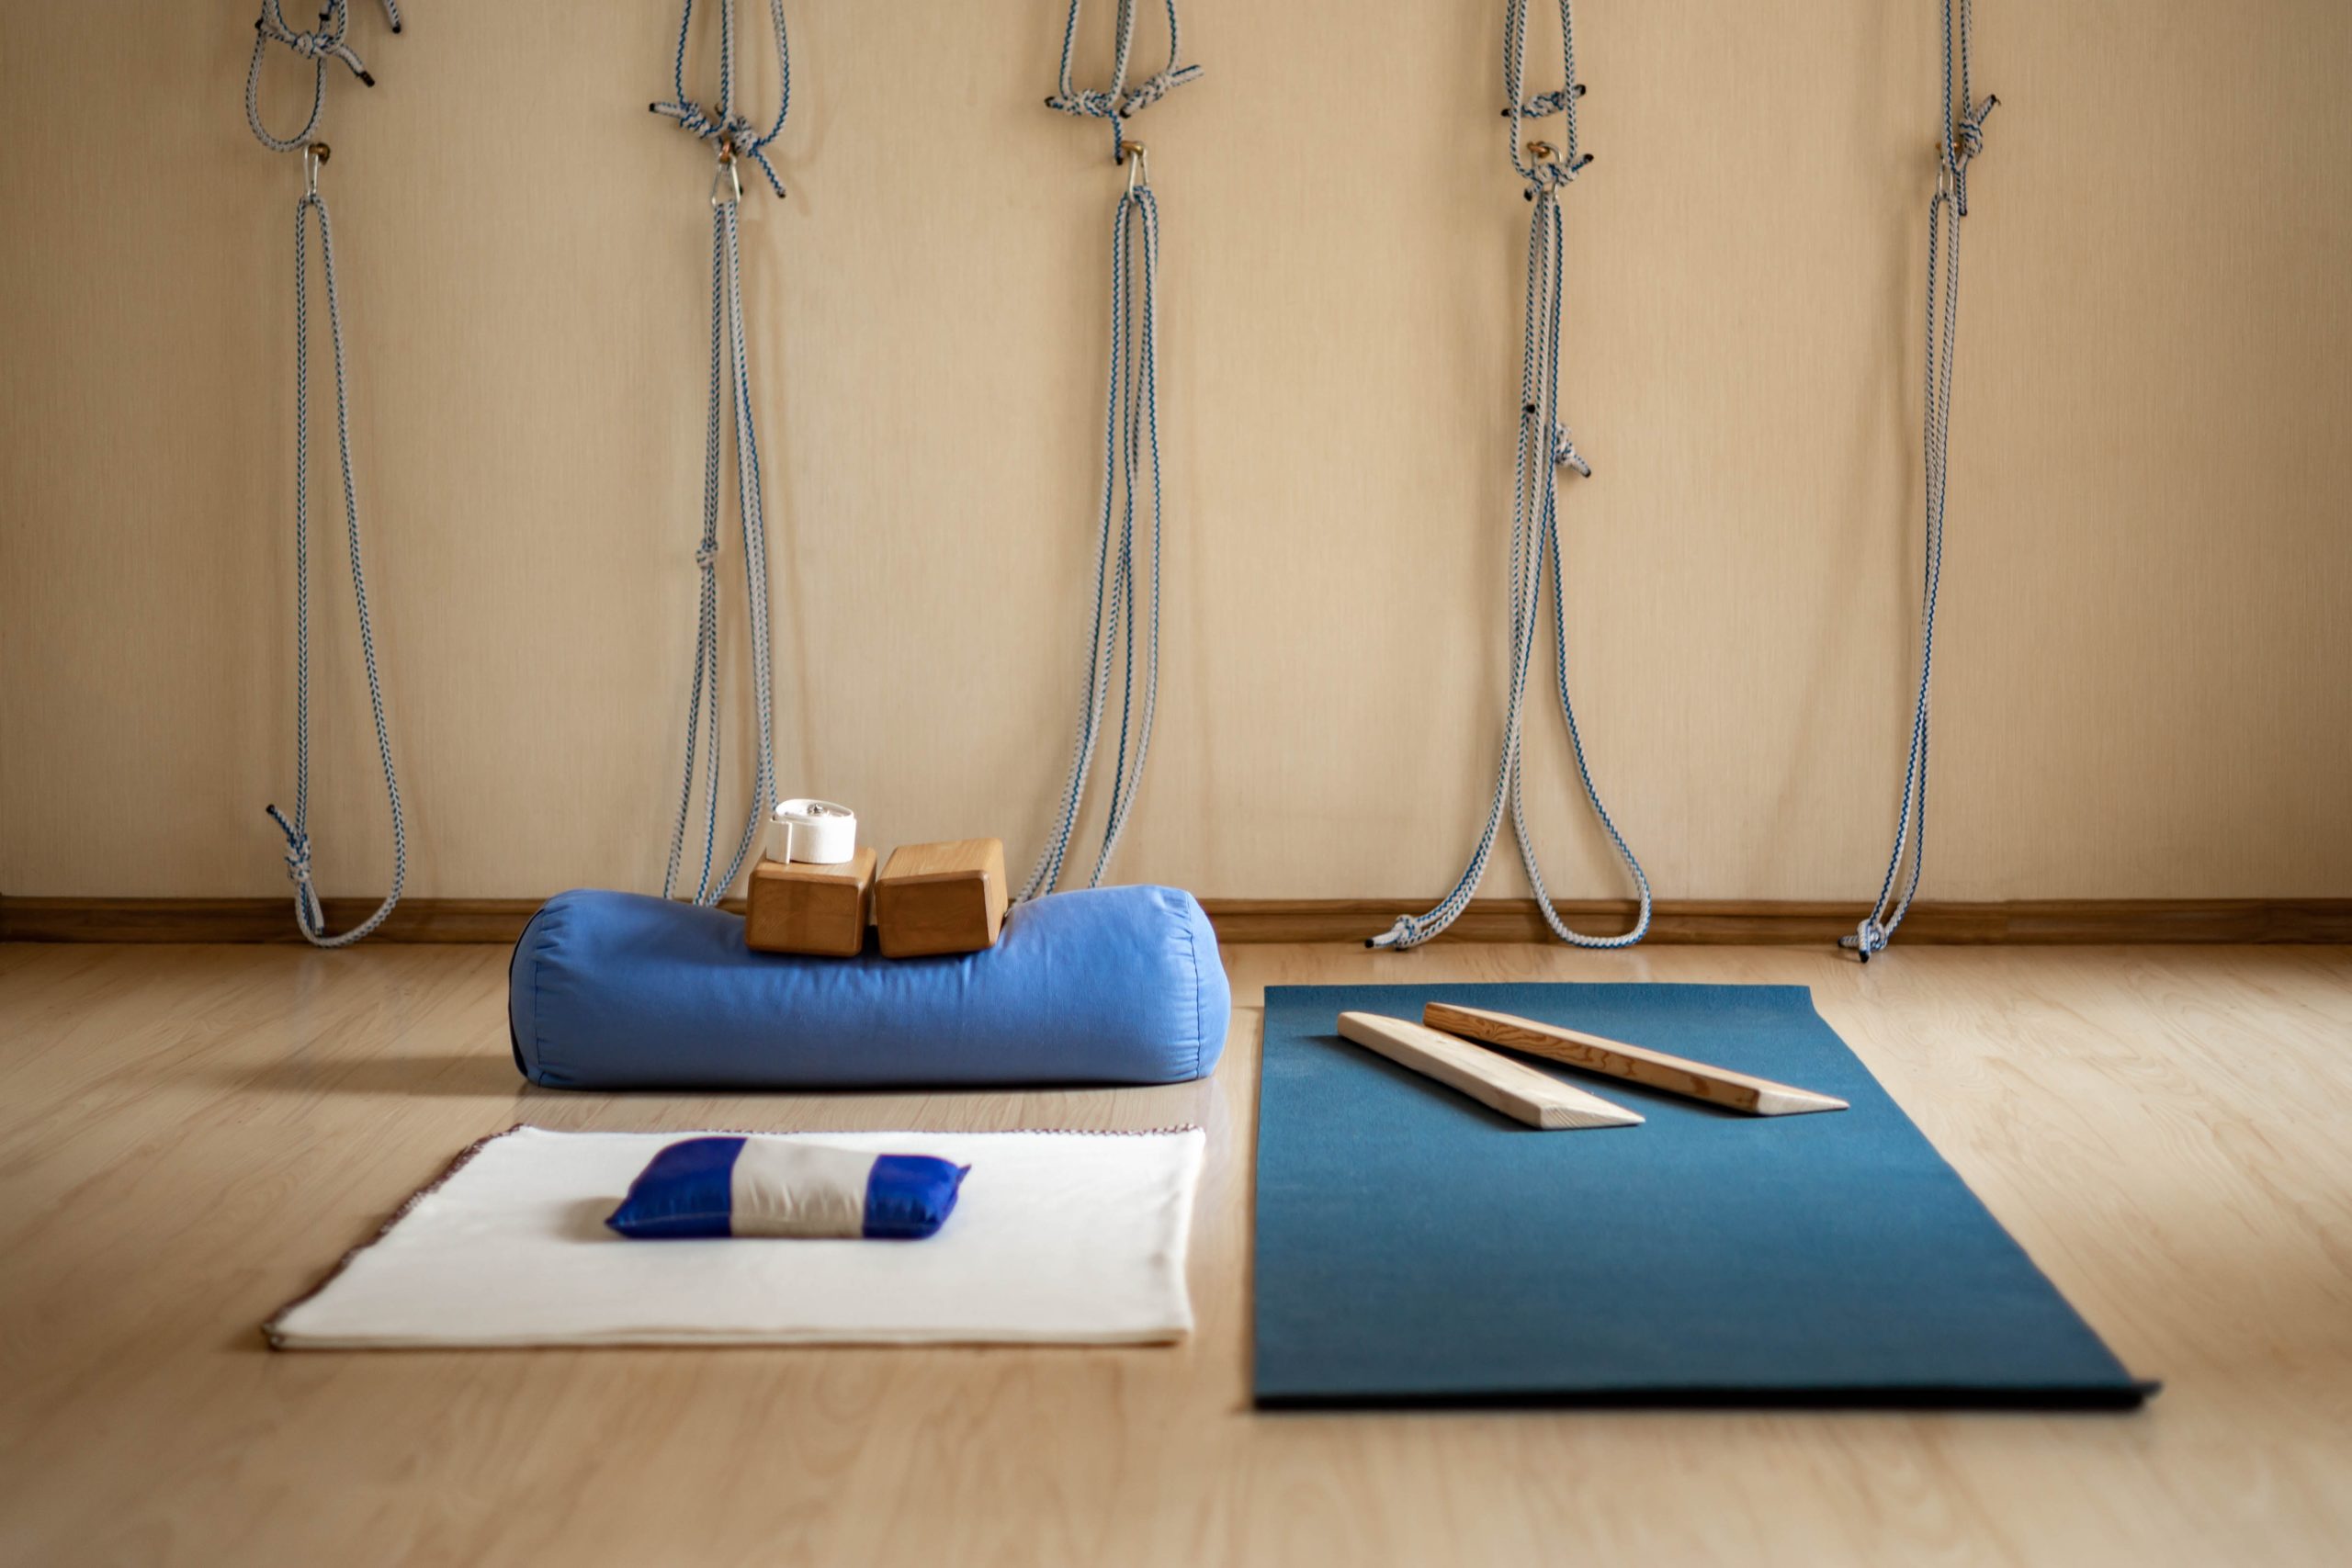
Practicing Iyengar yoga at home can be a deeply rewarding experience, and not to mention, one undertaken in your own space and totally at your convenience. Here are some (we’d say essential) tips to help you get started and make the most of your home yoga sessions, along with details on some foundational Iyengar poses to try out.
Get on the mat
This one may seem obvious, but the first and most crucial step is simply showing up. In your own home, it’s all to easy to get distracted or caught up in something. Set aside some time to practice, maybe even days ahead, and when the time comes, roll out your mat and get ready to move.
The more consistently you “show up” for practice, even in your own home, the greater the benefits will be over time.
Keep it manageable
Some is better than none after all, so don’t pressure yourself to commit to lengthy sessions. Rather, a focused, 20-25 minute practice will still be effective, and critically, is more achievable. This duration is perfect for slotting into a busy schedule, while still allowing enough time to reap the benefits of Iyengar’s poses.
Check in with yourself
Before you begin, take a moment to really think about how you feel, and assess those feelings. Your energy levels, mood and any physical tension can help inform the type of practice and poses that will best serve you today. Be mindful, and actively listen to what your body is telling you.
Feel the asana
As you move through the poses of your session, really pay active attention to how each asana (pose) feels. Yoga is not just about flexibility and strength. It is also about developing a deep, meaningful connection with your body. Each and every pose should nourish that connection, and feed your body with energy and calm.
Here’s some foundational Iyengar asanas you could try out in a home practice:
Adho Mukha Virasana (Downward-Facing Hero Pose)
- How to Do It:
- Start in a kneeling position with your big toes touching and knees spread apart.
- Extend your arms forward, lowering your torso between your thighs.
- Rest your forehead on the mat, stretching your arms forward with palms facing down.
- Focus:
- Feel the stretch along your spine, shoulders, and arms.
- This pose is excellent for relaxation and gently opening the hips.
Adho Mukha Svanasana (Downward-Facing Dog Pose)
- How to Do It:
- Begin on your hands and knees, with your wrists aligned under your shoulders and knees under your hips.
- Spread your fingers wide and press firmly through your palms as you lift your hips up and back.
- Straighten your legs as much as possible, aiming to create an inverted V shape with your body.
- Focus:
- Engage your quadriceps to take the pressure off your arms.
- Lengthen your spine and relax your head between your arms.
Trikonasana (Triangle Pose)
- How to Do It:
- Stand with your feet about 3-4 feet apart, right foot turned out 90 degrees and left foot slightly turned in.
- Extend your arms out to the sides, parallel to the floor.
- Reach forward with your right hand, hinging at your hip, and place your right hand on your shin, ankle, or the floor.
- Extend your left arm up toward the ceiling, opening your chest.
- Focus:
- Ensure both sides of your torso are equally extended.
- Align your shoulders and open your chest to enhance the stretch.
Virabhadrasana II (Warrior II Pose)
- How to Do It:
- Stand with your feet wide apart, turning your right foot out 90 degrees and left foot slightly in.
- Bend your right knee so that it’s directly above your right ankle, keeping your left leg straight.
- Extend your arms out to the sides, parallel to the floor, and gaze over your right hand.
- Focus:
- Keep your torso even and your shoulders relaxed.
- Engage your core and ensure your right thigh is parallel to the floor.
Prasarita Padottanasana (Wide-Legged Forward Bend)
- How to Do It:
- Stand with your feet wide apart and toes slightly turned in.
- Place your hands on your hips and hinge forward from your hips, keeping your back straight.
- Bring your hands to the floor, either directly under your shoulders or extending them forward.
- Focus:
- Keep your legs strong and active.
- Lengthen your spine as you fold forward, and relax your head towards the floor.
Finish with savasana
Always end your practice with savasana (corpse pose). This final relaxation pose is a great way of integrating the benefits of your practice, giving your body and mind time to rest and rejuvenate.
Enjoy the journey
Yoga, especially Iyengar yoga is meant to enhance your life and bring joy. It is a practice of self-care and self-love. Enjoy and cherish each moment on your mat, and let your practice be a source of happiness and well-being.

